Hyobeom Han
February 12, 1994
Smarter Plus
1. Client Requirements Analysis
Here's a new project. Our client want to make an e-commerce mobile app in which taekwondo trainers buy stuffs
for their
students such as uniform. The app must be able to run on all mobile platform including iOS and Android. Also,
there
has to be an admin website to track customers' order process and manage orders. Since most of taekwondo uniforms
need pre-work and post-work such as printing, and embroidery. So there need to be functions for administrating
subcontractors and calculating their labor to be paid.
For cross-platform mobile app, I decided to go with flutter since it saves a lot of time covering
both iOS and Android with just one code base.
For web, I chose sveltekit. Sveltekit is just an amazing tool to build an website. It minimize javascript code
that it feels like writing old school html and css, but with fully dynamic functionality.
So, let's begin by designing ERD.
2. Design ERD

E-commerce service needs a lot. Order, product, payment, pre-work, post-work, shipping, complain, calculation,
point, coupon and more. It changed many time in the process of development. For client's request change, ui
design change, and performance issue, I had to make modification day by day. I really hate those changes, but
what can I do. Business is complicated by it's nature.
3. Start django project with docker
version: "3.9"

services:
  postgres:
    container_name: postgres_smarter
    image: postgres
    ports:
      - "5432:5432"
    volumes:
      - ./data/db:/var/lib/postgresql/data
    environment:
      - POSTGRES_NAME=postgres
      - POSTGRES_USER=postgres
      - POSTGRES_PASSWORD=postgres

  django:
    container_name: django
    build: .
    command: python manage.py runserver 0.0.0.0:8000
    volumes:
      - .:/server
      - ./media:/server/media
    ports:
      - "8000:8000"
    environment:
      - POSTGRES_NAME=postgres
      - POSTGRES_USER=postgres
      - POSTGRES_PASSWORD=postgres
      - POSTGRES_HOST=postgres
      - POSTGRES_PORT=5432
      - BASE_URL=https://test.server.ksmarter.shop
    depends_on:
    - "postgres"

  redis:
    image: redis:alpine
  celery:
    restart: always
    build:
      context: .
    command: bash -c 'celery -A server worker --loglevel=info & celery -A server beat --loglevel=INFO'
    volumes:
      - .:/server
    environment:
      - POSTGRES_NAME=postgres
      - POSTGRES_USER=postgres
      - POSTGRES_PASSWORD=postgres
      - POSTGRES_HOST=postgres
    depends_on:
      - 'django'
      - 'redis'
As always, let's start with docker-compose file. We need django, postgres and redis. We use redis for caching
asynchronous tasks handled by celery. Such as sending notifications, we have to queue those tasks that we don't
have to wait for the external api response and get our business logics done.
4. Build tables with django models
from django.db import models


class OrderMaster(models.Model):

    class Meta:
        ordering = ['-date_created']

    order_number = models.CharField(max_length=25, unique=True)
    user = models.ForeignKey('authentication.User', on_delete=models.PROTECT, related_name='orders')
    parent_order = models.ForeignKey('self', on_delete=models.CASCADE, blank=True, null=True, related_name='children',default=None)

    # DATE
    date_created = models.DateTimeField(auto_now_add=True)
    date_updated = models.DateTimeField(auto_now=True)
    date_state_changed = models.DateTimeField(null=True, blank=True)

    price_delivery = models.IntegerField(default=0)

    # MEMO
    memo_by_admin = models.TextField(null=True, blank=True)
    memo_by_subcontractor = models.TextField(null=True, blank=True)
    memo_by_buyer = models.TextField(null=True, blank=True)

    # SHIPPING
    is_pick_up = models.BooleanField(default=False)
    receiver = models.CharField(max_length=50)
    email = models.EmailField(null=True, blank=True)
    phone = models.CharField(max_length=11)
    zip_code = models.CharField(max_length=5, null=True, blank=True)
    address = models.CharField(max_length=100)
    detail_address = models.CharField(max_length=100, null=True, blank=True)
    delivery_request = models.CharField(max_length=100, null=True)
    is_deleted = models.BooleanField(default=False)
    is_active = models.BooleanField(default=True)

    coupon = models.ForeignKey('cs.Coupon', on_delete=models.PROTECT, related_name="order", blank=True, null=True)
    @property
    def price_to_pay(self):
        total = 0
        for detail in self.details.filter(is_deleted=False):
            total += detail.price_total
        for child in self.children.all():
            for detail in child.details.filter(is_deleted=False):
                total += detail.price_total
        for smarter_money_history in self.smarter_money_history.filter(transaction_type='사용'):
            total -= smarter_money_history.amount
        total -= self.coupon.price if self.coupon else 0
        total += self.price_delivery
        return total

    @property
    def order_name(self):
        detail = self.details.first()
        product_name = detail.product_master.name
        product_count = self.details.count()
        description = product_name
        if product_count > 1:
            description += ' 외 {}개 상품'.format(product_count-1)
        return description

    @property
    def price_total(self):
        total = 0
        for detail in self.details.filter(is_deleted=False):
            total += detail.price_total
        for child in self.children.all():
            for detail in child.details.filter(is_deleted=False):
                total += detail.price_total
        return total

    @property
    def price_total_products(self):
        total = 0
        for detail in self.details.filter(is_deleted=False):
            total += detail.price_products
        for child in self.children.all():
            for detail in child.details.filter(is_deleted=False):
                total += detail.price_products
        return total

    @property
    def price_total_work_labor(self):
        total = 0
        for detail in self.details.filter(is_deleted=False):
            total += detail.price_work_labor
        for child in self.children.all():
            for detail in child.details.filter(is_deleted=False):
                total += detail.price_work_labor
        return total

    @property
    def price_total_work(self):
        total = 0
        for detail in self.details.filter(is_deleted=False):
            total += detail.price_work
        for child in self.children.all():
            for detail in child.details.filter(is_deleted=False):
                total += detail.price_work
        return total

    def __str__(self):
        return self.order_number
OrderMaster model is very long. For calculating various price values, I made property functions accordingly.
With those, we don't need to write those calculation code in many places in our view that keep our business
logic short. Also, it helps avoiding duplicated data such as
price_to_pay. We can make it as column
and keep recording it as any price, quantity, point or coupon value changes. If successfully done, we can
reserve
resources for calculations, but any mistake such as missing out to track even one tiny change, we might get into
a huge accident;
money should
be treated with utmost care.5. Define graphql schema
In this project, I chose to go with graphql api instead of REST. There will be lots of different kind of data
from various tables. To handle those requests, graphql seemed to be a better choice over REST. So let's begin
with defining object types.
import graphene
from graphene_django import DjangoObjectType

class OrderMasterType(DjangoObjectType):
    class Meta:
        model = OrderMaster

    details = graphene.List(OrderDetailType)
Using graphene_django, all we need to do is inherit DjangoObjectType and set model we created before.
class Query(graphene.ObjectType):
    order_master = graphene.Field(OrderMasterType, order_master_id=graphene.Int(), order_number=graphene.String())

        @staticmethod
    def resolve_order_master(root, info, order_number=None, order_master_id=None):
        if order_number:
            return OrderMaster.objects.get(order_number=order_number)
        return OrderMaster.objects.get(pk=order_master_id)

schema = graphene.Schema(query=Query, mutation=Mutation)
Then define our schema. In
schema.py file, create Query class and set it as Schema's query using
graphene library. That's it. Now we can request order_master query and get response including
matching order_master data from our order_master table .6. Build backend server and run
server {
    server_name www.api.ksmarter.shop;

    location / {
      proxy_pass http://127.0.0.1:8000;
    }

     listen 443 ssl;
     ssl_certificate /etc/letsencrypt/live/api.wooridong-rep.net/fullchain.pem;
     ssl_certificate_key /etc/letsencrypt/live/api.wooridong-rep.net/privkey.pem;
     include /etc/letsencrypt/options-ssl-nginx.conf;
     ssl_dhparam /etc/letsencrypt/ssl-dhparams.pem;
    }

server {
   if ($host = www.api.ksmarter.shop) {
    return 301 https://$host$request_uri;
   }
   server_name www.api.ksmarter.shop;
   listen 80;
   return 404;
}
Just like Wooridong Rep project, config backend server on EC2 instance.
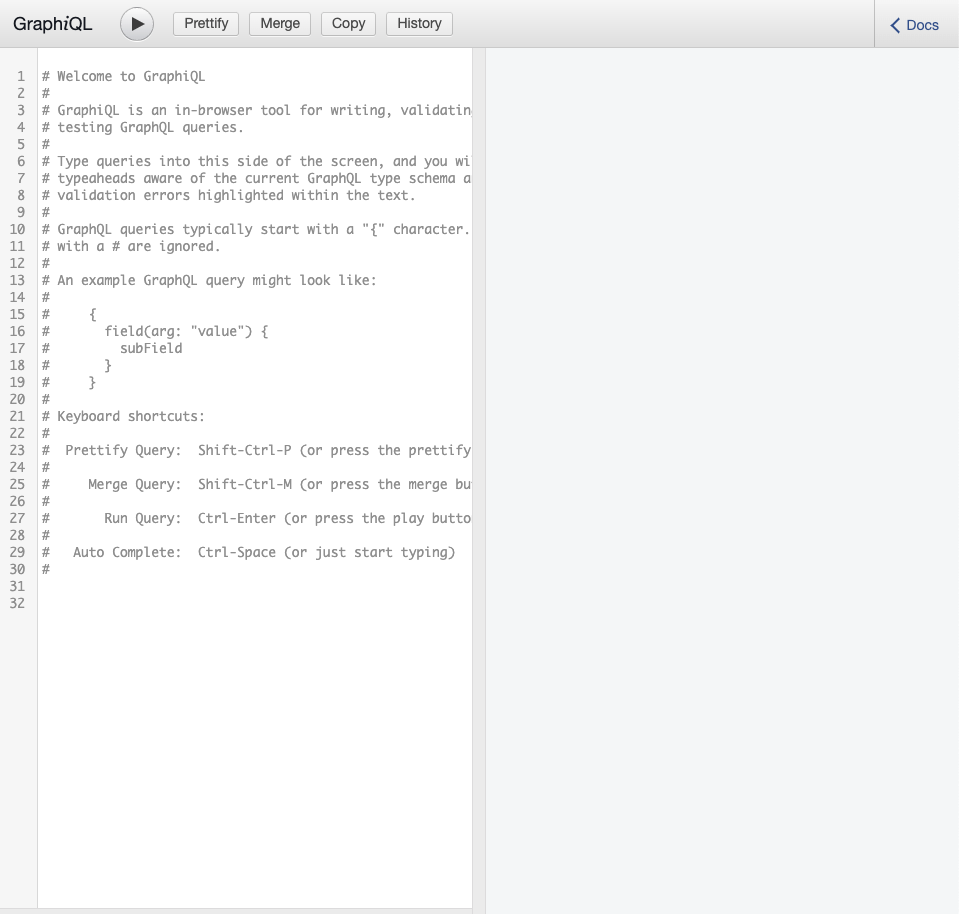
Now, it's time to run our app on the server. Let's visit
graphql
api endpoint

Done. Works smoothly. We can provide this graphiql view to front-end developers with additional documentation to
help theme use apis easily.